![](https://burningbeardstudios.co.uk/wp-content/uploads/2021/07/215127707_842870609992188_8517450526600962035_n.jpg)
Ultramarines Legion Champion.
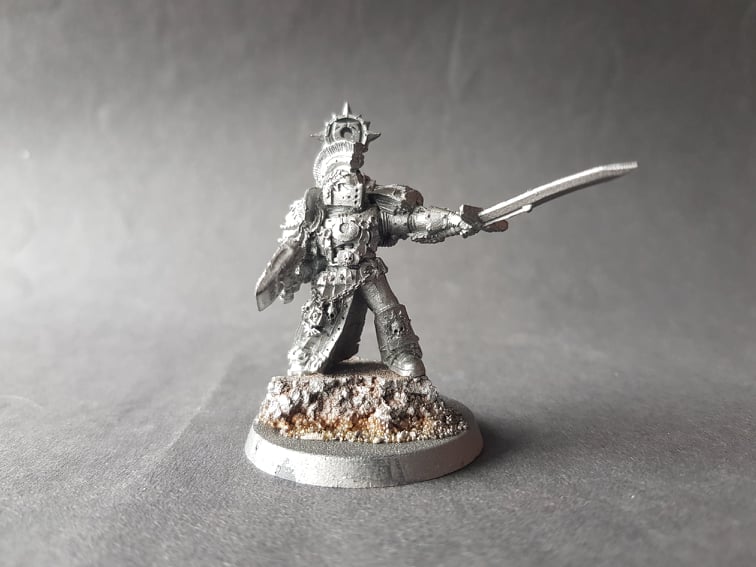
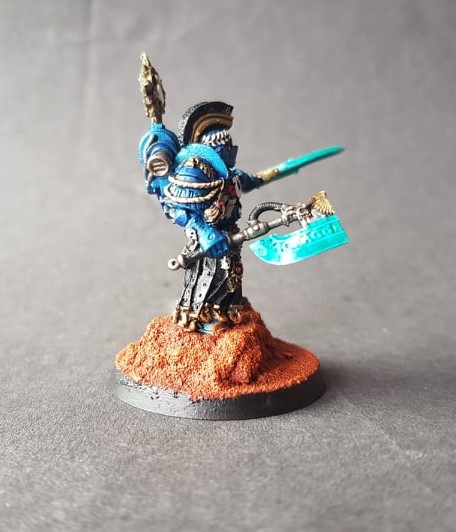
The miniature was primed using Games Worksops leadbelcher.
![](https://burningbeardstudios.co.uk/wp-content/uploads/2021/07/214978423_172466301597004_6913834818245266388_n.jpg)
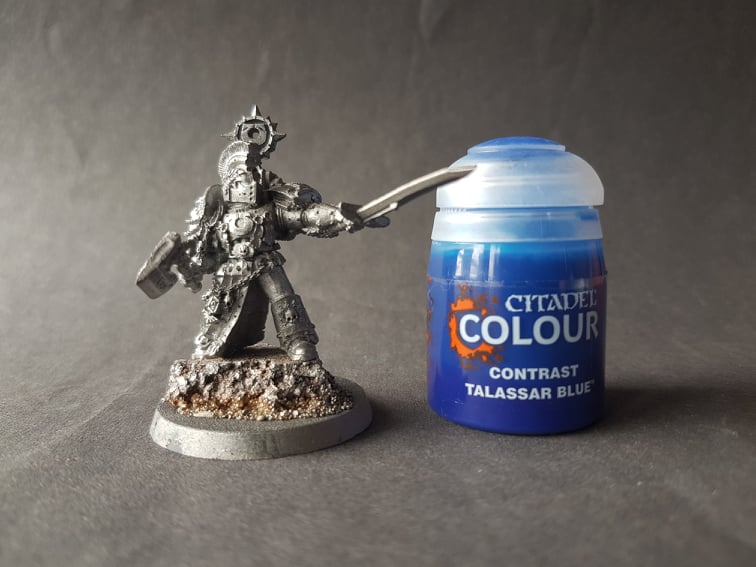
Once the primer was dry a layer of Games Workshops contrast paint talassar blue was painted over the armour plates.
![](https://burningbeardstudios.co.uk/wp-content/uploads/2021/07/213862069_527886188408303_4966762918339593155_n.jpg)
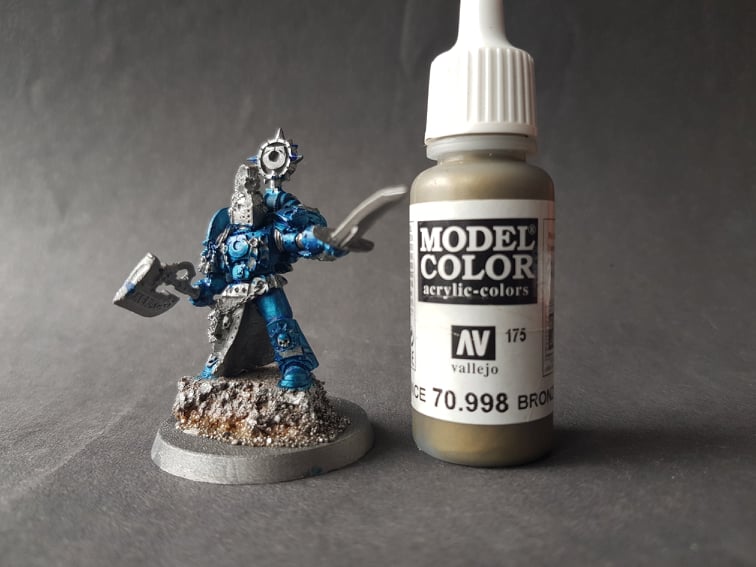
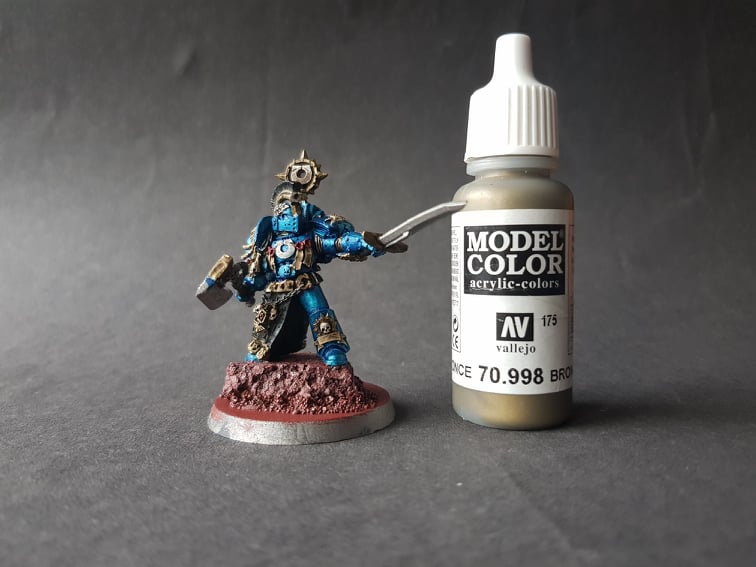
The trims on the shoulder pad, the icon on the back pack and any other metallic details were painted with Vallejo bronze.
![](https://burningbeardstudios.co.uk/wp-content/uploads/2021/07/214812100_4397278017005348_4521882949178141690_n.jpg)
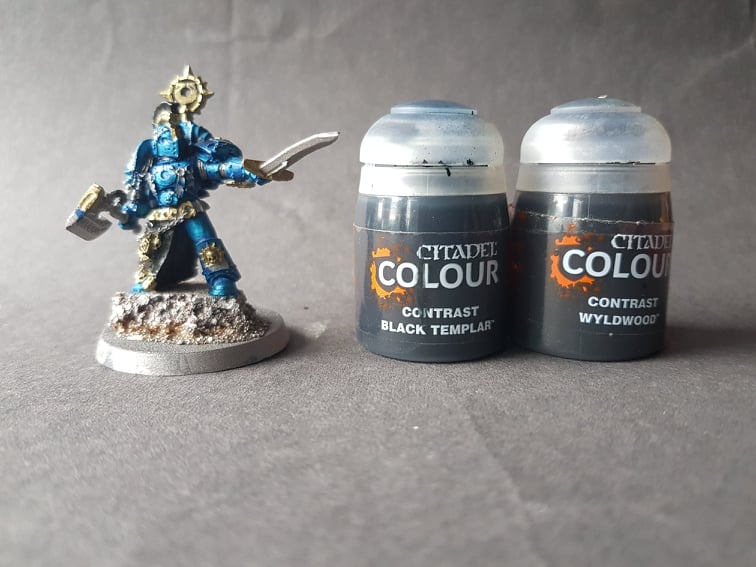
The cloth as painted with contrast black templar and the belts were painted with contrast wyldwood.
![](https://burningbeardstudios.co.uk/wp-content/uploads/2021/07/215004875_304440834462361_4689605190385030375_n.jpg)
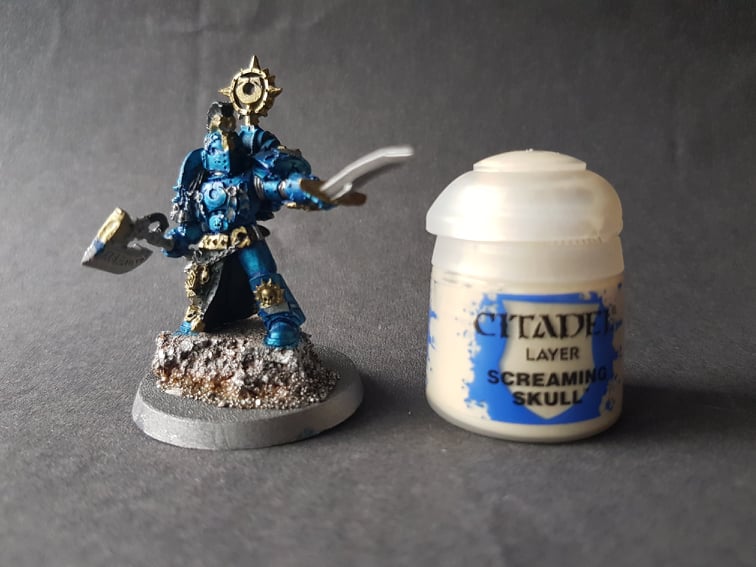
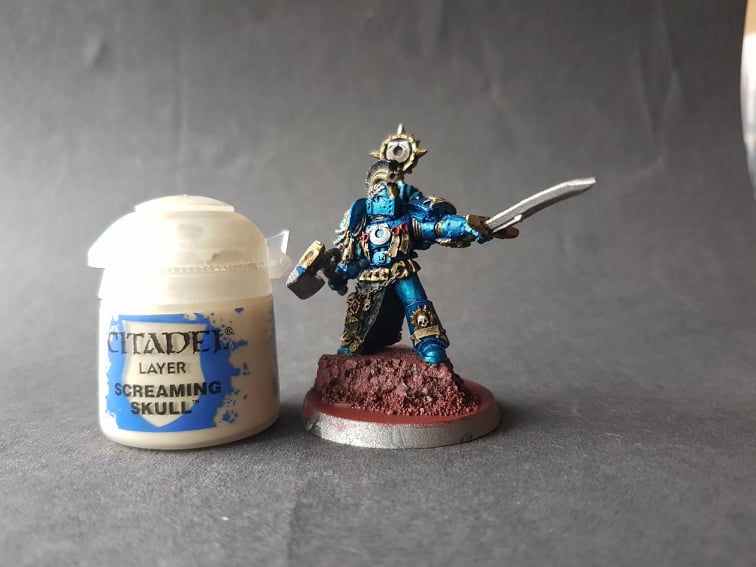
Any scrolls and skulls were painted with Games Workshops screaming skull.
![](https://burningbeardstudios.co.uk/wp-content/uploads/2021/07/214049785_317667593363567_2031179312293239792_n.jpg)
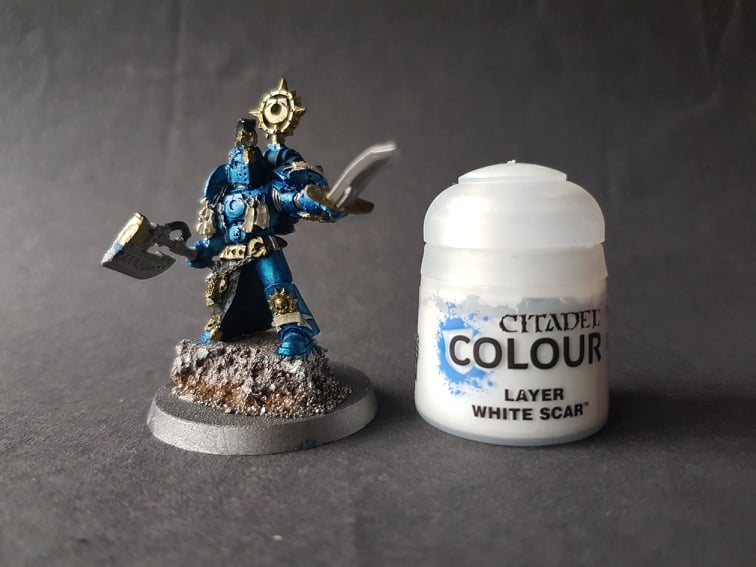
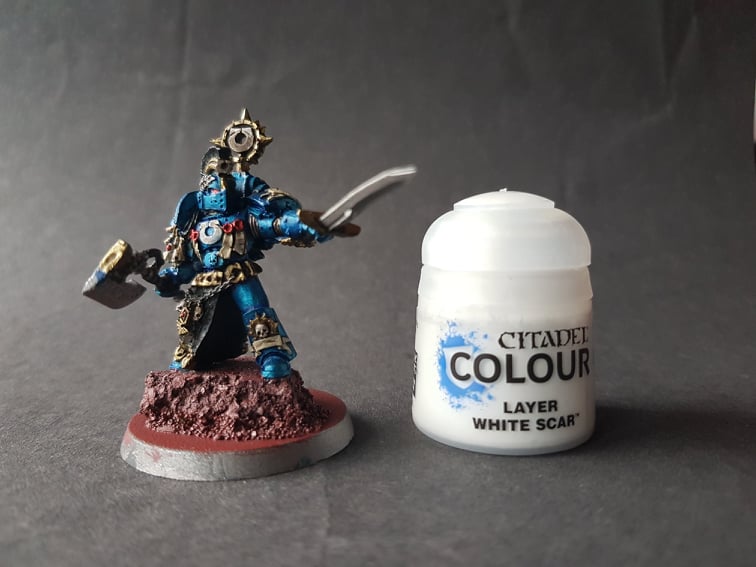
The Ultramarine symbol and weapon blades were then painted with Games Workshops white scar.
![](https://burningbeardstudios.co.uk/wp-content/uploads/2021/07/214373385_974048376664517_2658434169118195857_n.jpg)
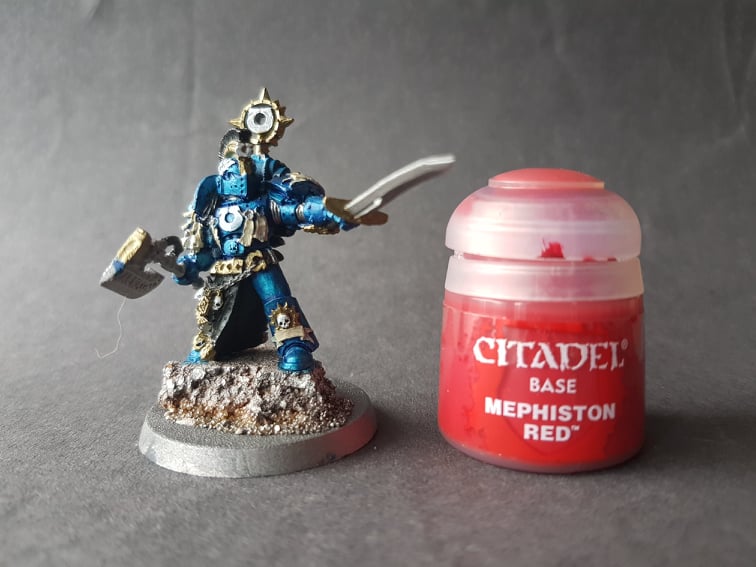
The wax purity seals and the eyes were painted with Games workshops mephiston red.
![](https://burningbeardstudios.co.uk/wp-content/uploads/2021/07/214119505_825176808193346_9017148553215415869_n.jpg)
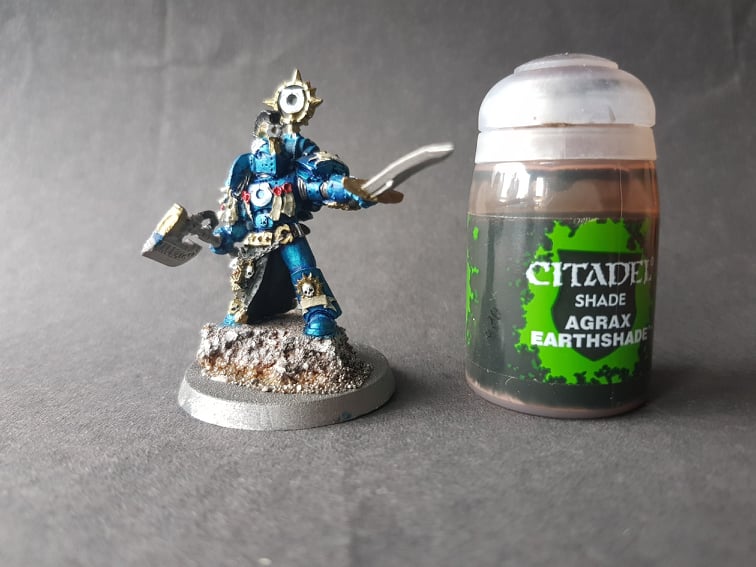
All areas painted with bronze, red, cream and white were washed with Games Workshops agrax earthshade.
![](https://burningbeardstudios.co.uk/wp-content/uploads/2021/07/211760908_497594864807813_4292980350167769658_n.jpg)
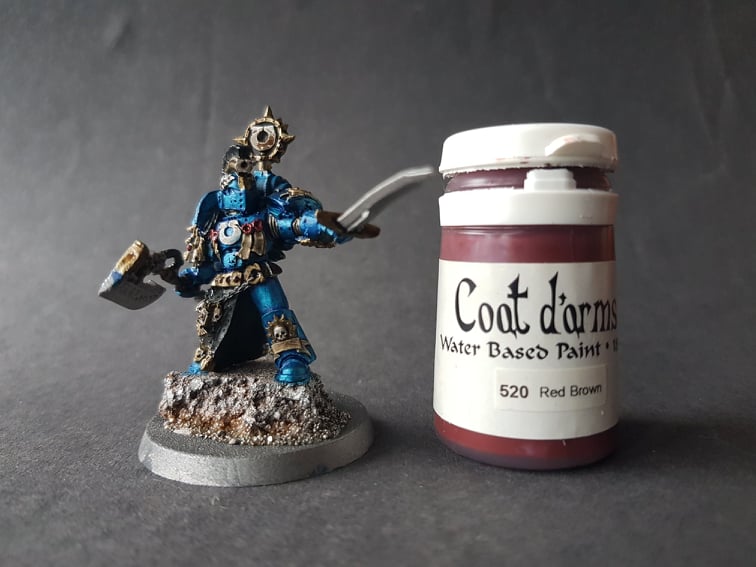
While the wash was drying I painted the base with Coat D Arms red brown.
![](https://burningbeardstudios.co.uk/wp-content/uploads/2021/07/202356889_328543665586537_6024207219764245211_n.jpg)
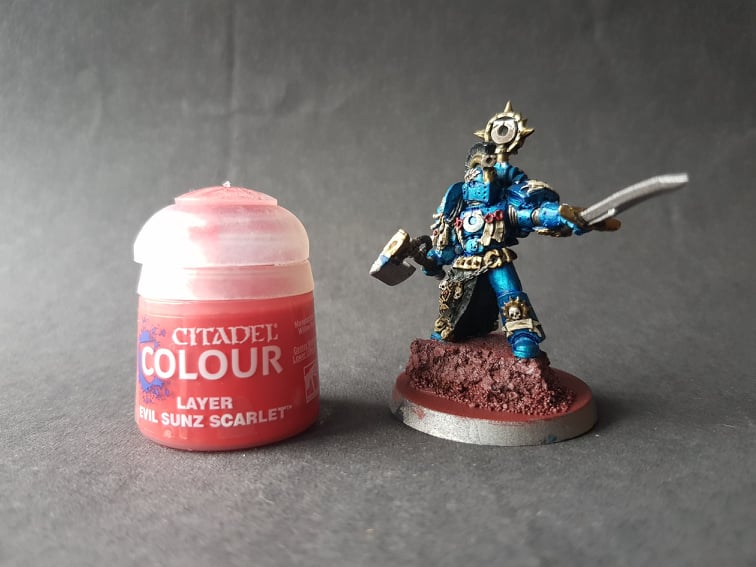
All red areas were highlighted with Games Workshops evil sunz scalet.
![](https://burningbeardstudios.co.uk/wp-content/uploads/2021/07/214061827_256971699094995_427743236832269073_n.jpg)
All of the bronze was highlighted with the original colour.
![](https://burningbeardstudios.co.uk/wp-content/uploads/2021/07/214214239_519215592655006_4301464592708162060_n.jpg)
Highlight all f the areas painted screaming skull with the original colour.
![](https://burningbeardstudios.co.uk/wp-content/uploads/2021/07/215349890_248181200098527_1995507724489999353_n.jpg)
Highlight all areas painted white with the original colour. Also paint a small dot of white on the eye lenses.
![](https://burningbeardstudios.co.uk/wp-content/uploads/2021/07/214532684_1740549839486267_5493200749459209965_n.jpg)
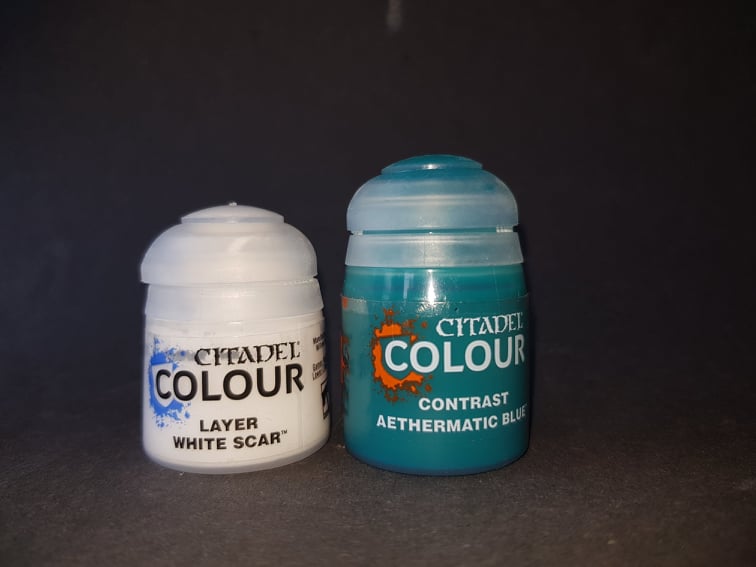
Give the weapons another layer of white then using Games Workshops contrast aethermatic blue paint a thin layer of the blue over 80% of the blade from the tip downwards. once dry repeat but only down to 70%. Repeat this prosses reducing the area you paint each step. this will create a subtle gradient running down the blade.
![](https://burningbeardstudios.co.uk/wp-content/uploads/2021/07/212928077_358772198967804_3512583495902676647_n.jpg)
The base was dipped in the Geek Gaming Base Ready Mars as with the rest of the army.
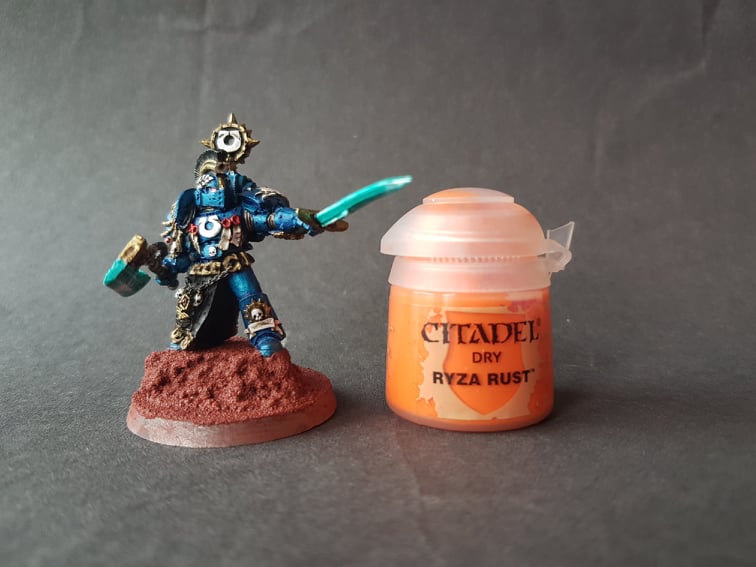
Once the basing was dry it was given a light drybrush using Games Workshops dry ryza rust.
![](https://burningbeardstudios.co.uk/wp-content/uploads/2021/07/202349427_411226203455466_8609063966730468922_n.jpg)
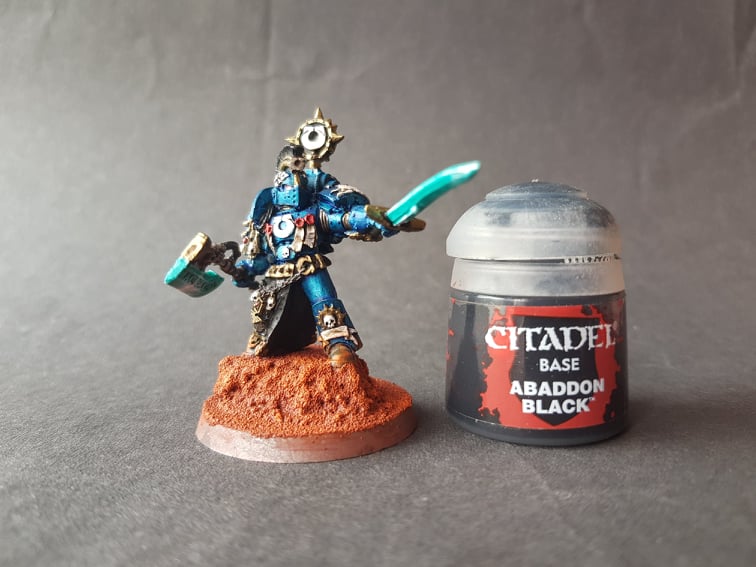
To finish the miniature the rim was painted using Games Workshops abaddon black.
![](https://burningbeardstudios.co.uk/wp-content/uploads/2021/07/211737493_490483488917359_8203268438334489783_n.jpg)