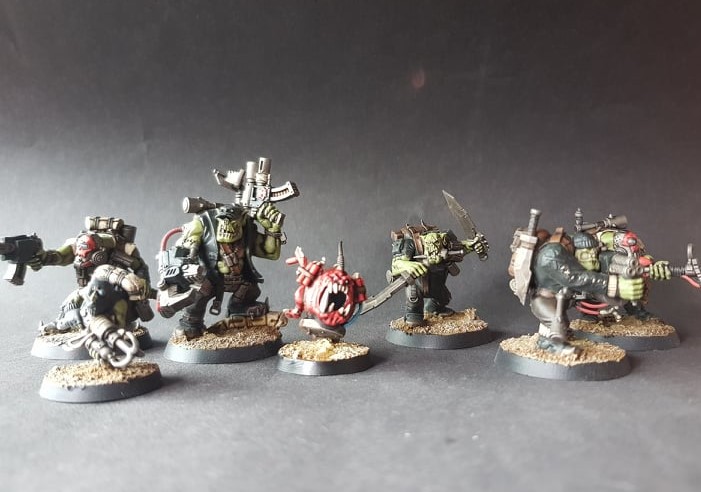
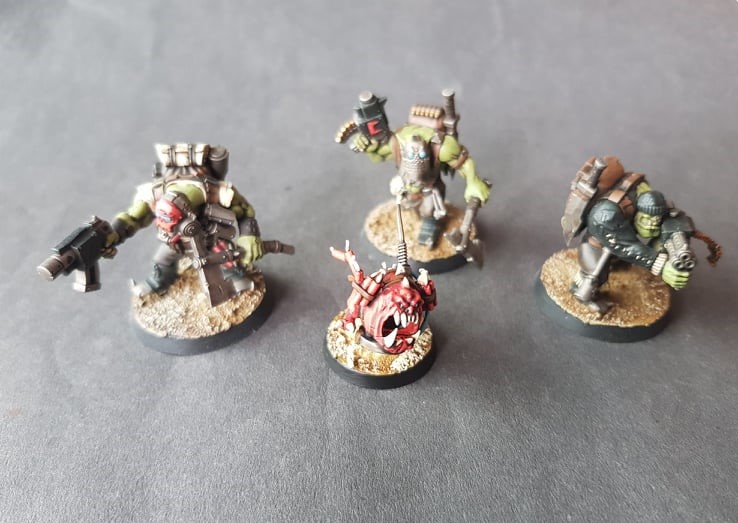
In this tutorial we are going to paint one of the new Ork commandos from the new KIll Team box.
The Miniatures were given a spray prime using Games Workshop Deathguard green.
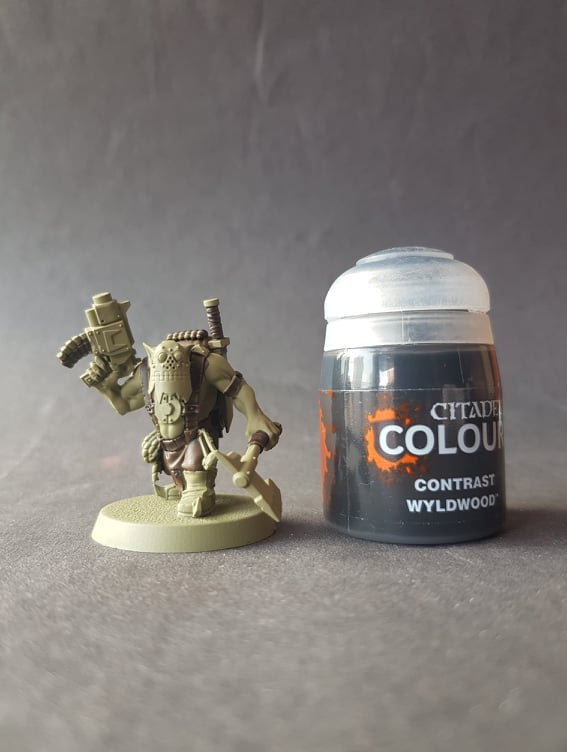
All of the cloth trousers and belt details were painted with Games Workshop Contrast Wyldwood.
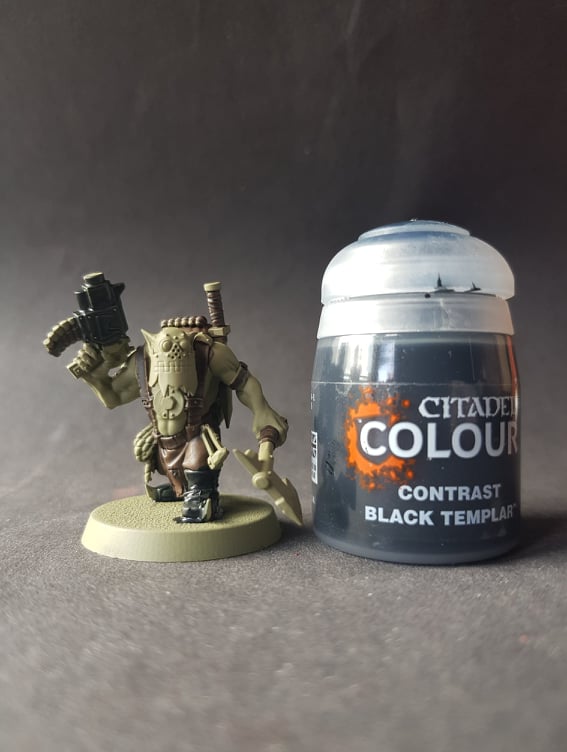
The boots and gun casings, as well as some of the orks shirts were painted with Games Workshop Contrast Black Templar.
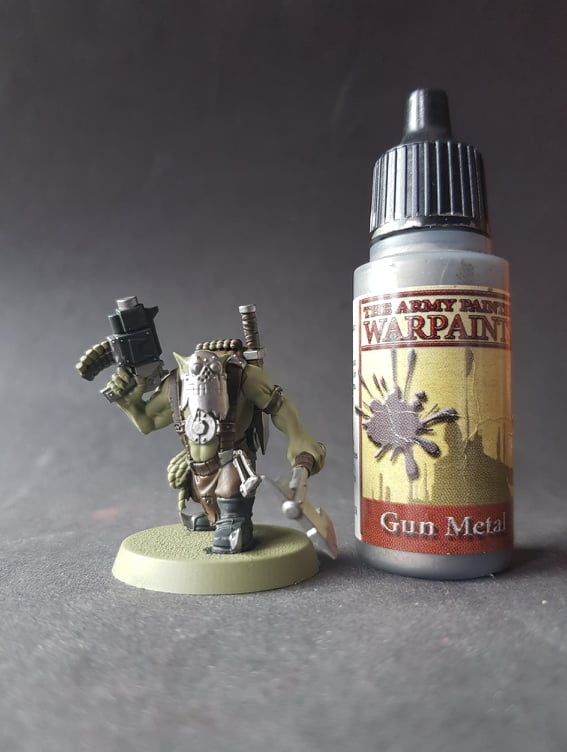
All armour plates, weapons, and tank busta bombs were painted with Army Painter Gun Metal.
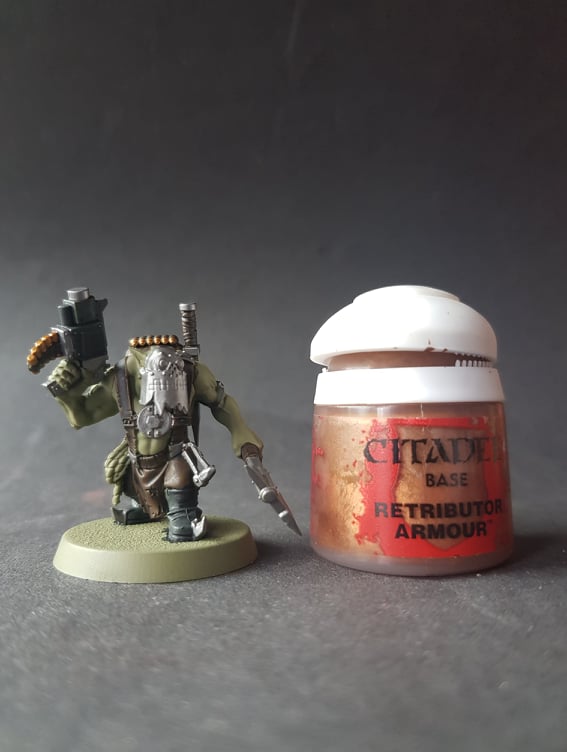
All the shell casings were painted with Games Workshop Retributor Armour.
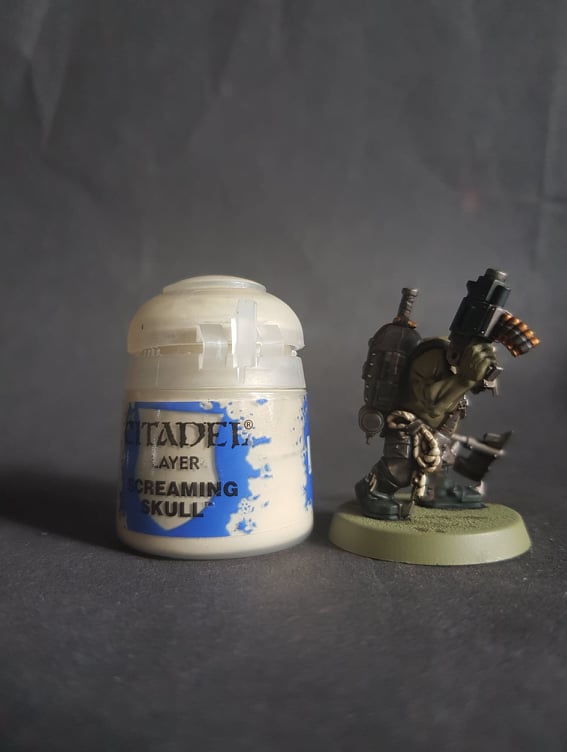
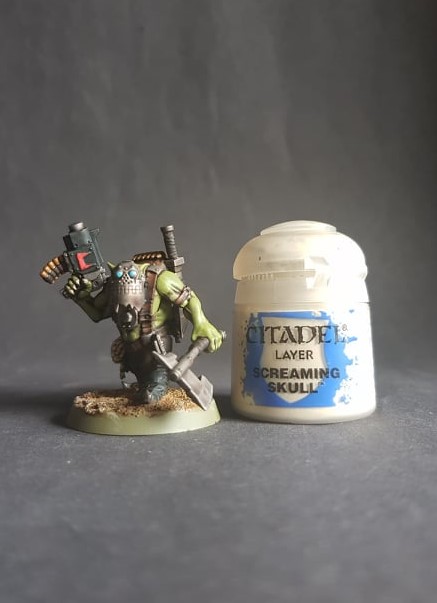
The stitching on the clothing as well as some of the shirts was picked out with Games Workshop Screaming Skull.
Any rope and dynamite fuses were also painted with the same colour.
All the ork glyphs, dynamite, wires and face mask details were painted with Games Workshop Mephiston Red.
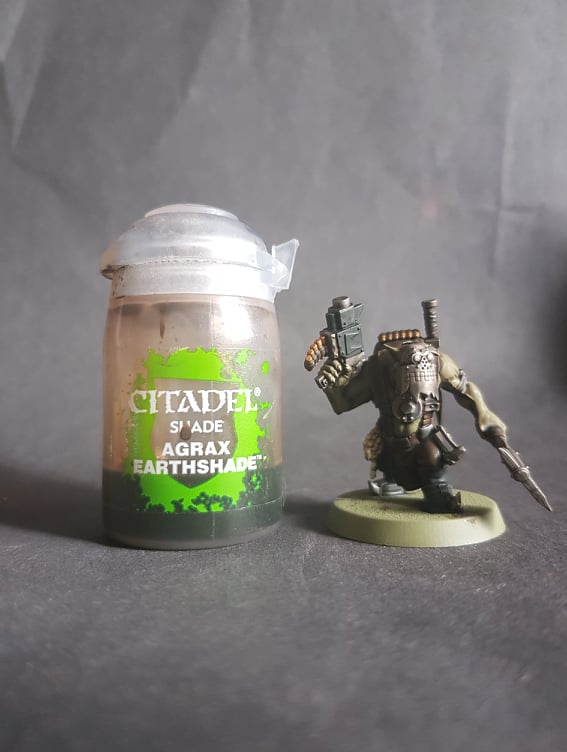
The entire miniature was washed with Games Workshop Agrax Earthshade.
Once the wash was dry all of the red, bone and metal details were highlighted with the original colours.
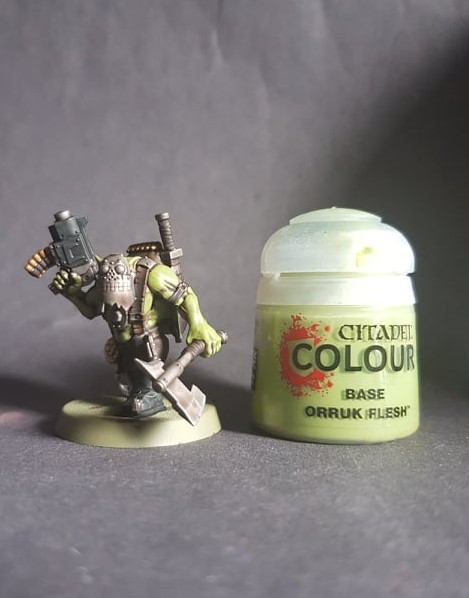
Once the wash was fully dry the Flesh was highlighted with Games Workshop Orruk Flesh.
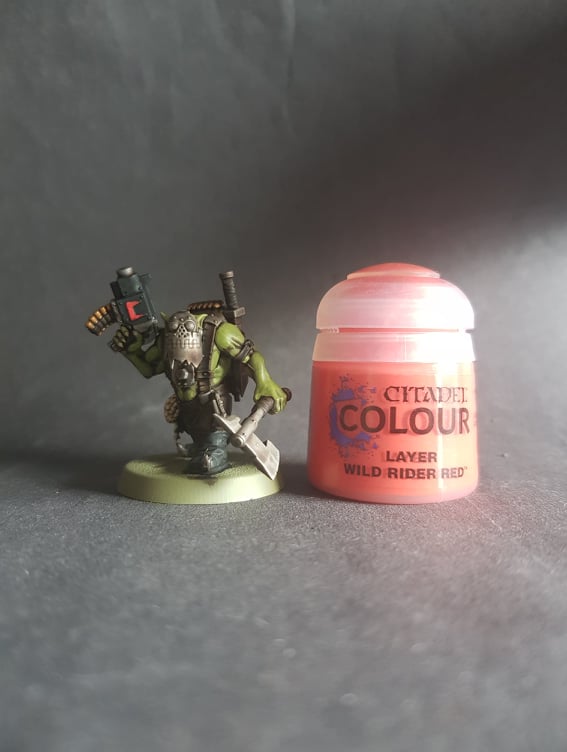
All of the red details were given a final highlight of Games Workshop Wild Rider Red.
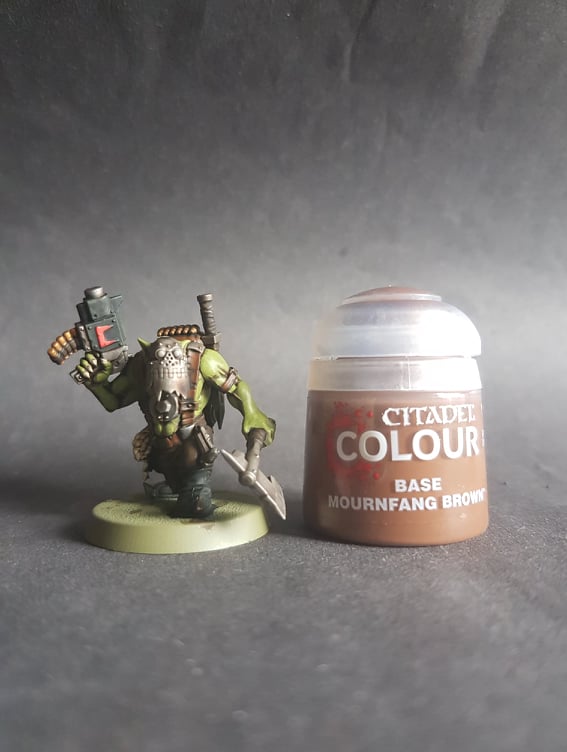
All of the brown details were given a highlight of Games Workshop Mournfang Brown.
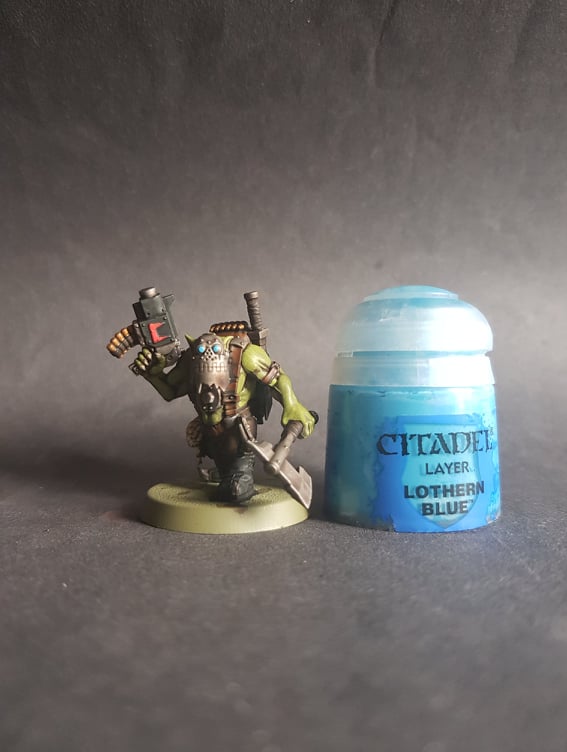
All eye lenses and screens were painted with Games Workshop Lothern Blue.
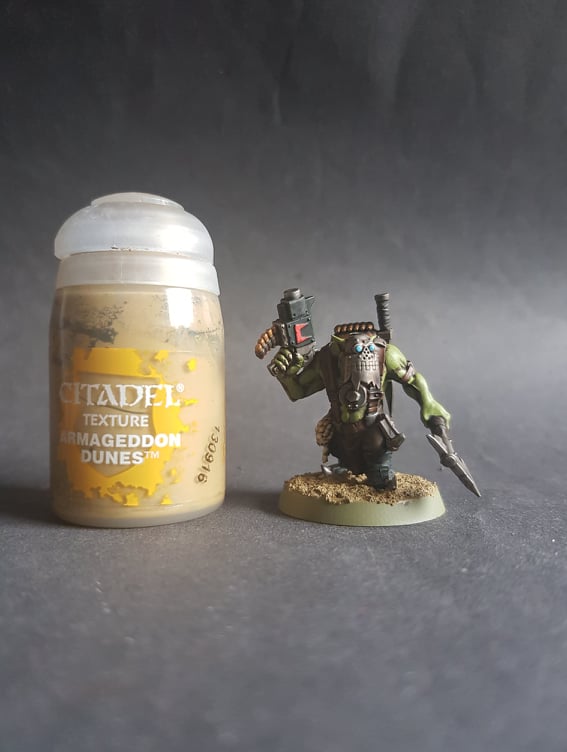
The bases were given a layer of Games workshop texture paint Armageddon Dunes.
The base was then given a wash of Games Workshop Seraphin Sepia.
Once the wash was dry it was given a light drybrush using Games Workshop Screaming Skull.
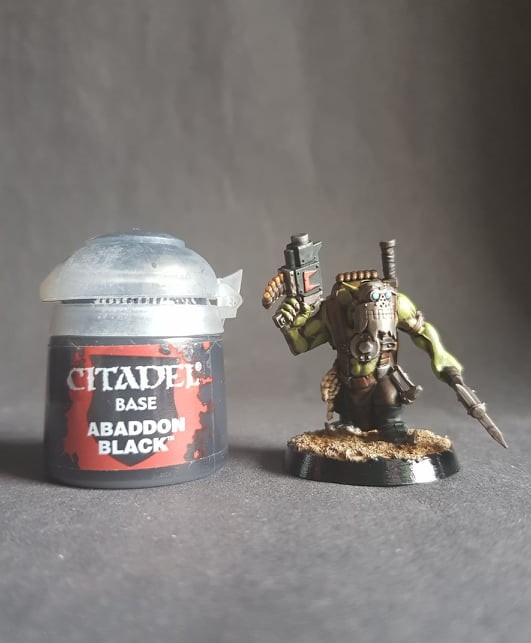
To complete the miniatures the base rims were painted with Games Workshop Abaddon Black.
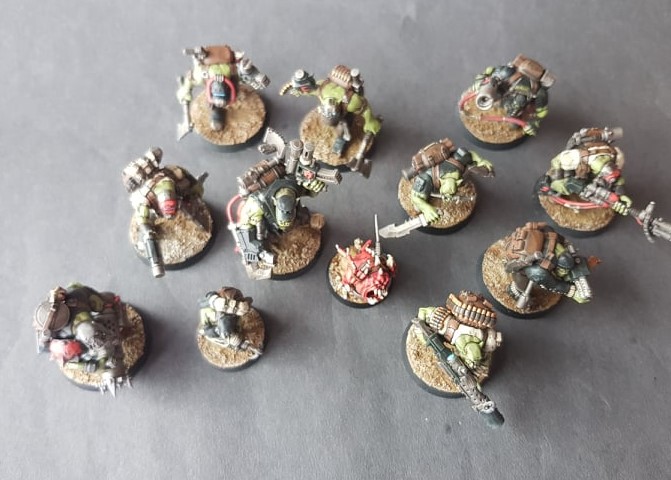
That’s it, a very easy paint scheme to get your Ork Kill team on the table.
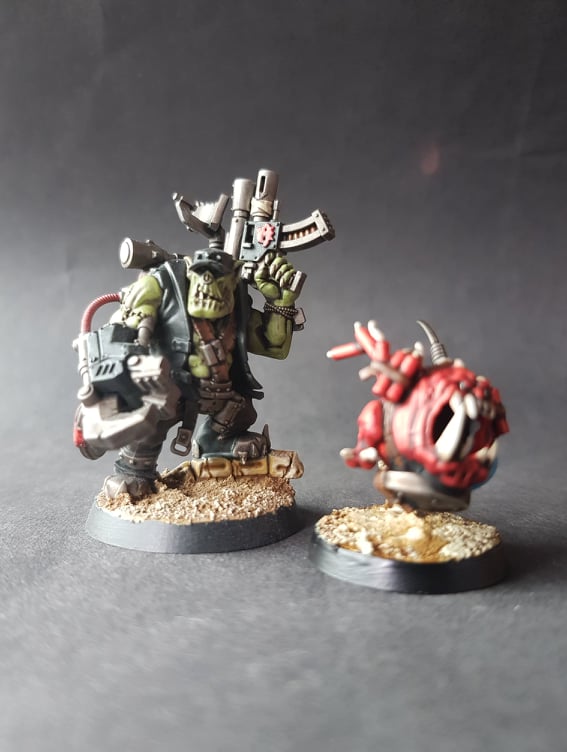
SQUIG!
The squig was painted with the same reds, browns and metal colours used on all of the orks. its was then given an all over wash the same as the orks, then highlighted with all the original colours.