So, today we are going to paint an Ultramarine for the Horus Heresy but I didn’t want to do the usual flat Ultramarines blue. I want to give them a metallic finish as Forge World have done with many of their Horus Heresy armies.
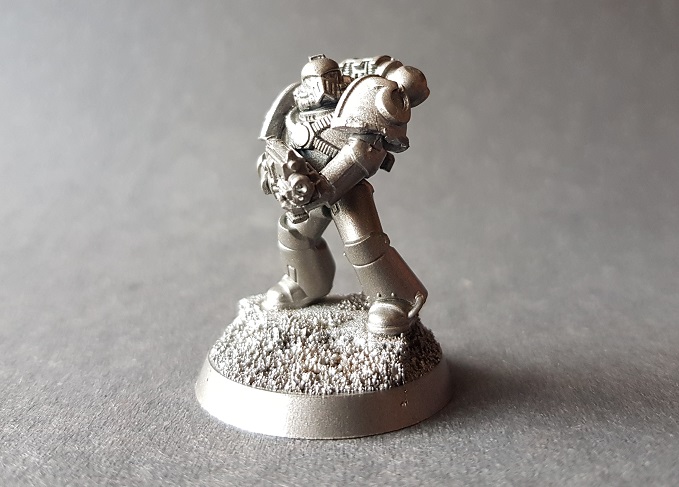
I started by gluing some cork and sand onto the base then primed the entire model with a leadbelcher spray.
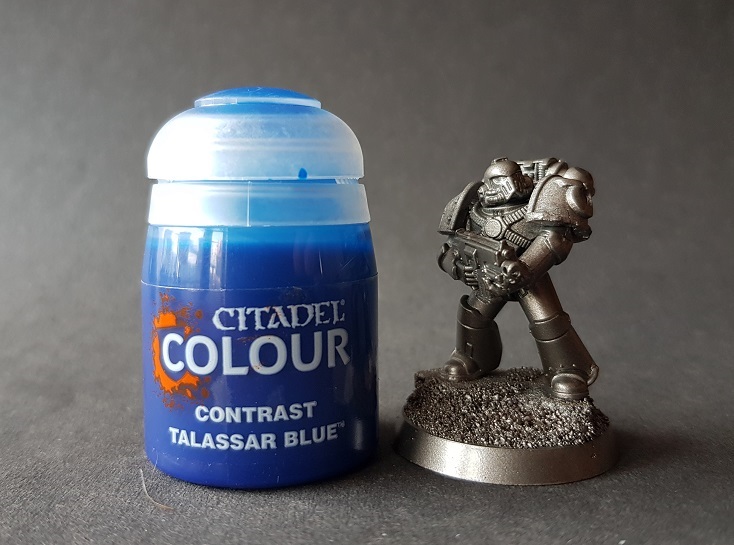
Once the spray primer was completely dry I used Games Workshops contrast talassar blue. I took my time with this layer working from the feet u to make sure I covered all of the armour.
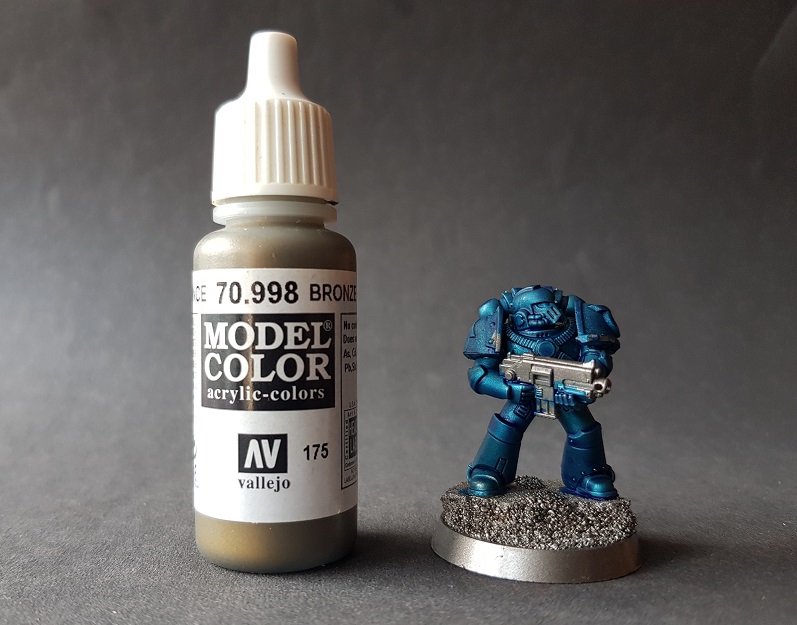
Once the contrast paint was dry I used Bronze by Vallejo to paint the trim around the shoulder pads. I took my time with this as it would take a long time to tidy up the blue armour if i slipped with the bronze.
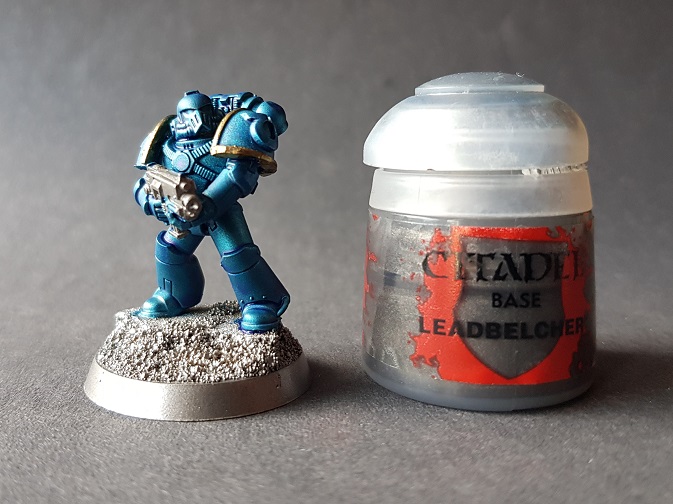
The pipes, under amour and vents as well as the bolter were painted with Games Workshops leadbelcher.
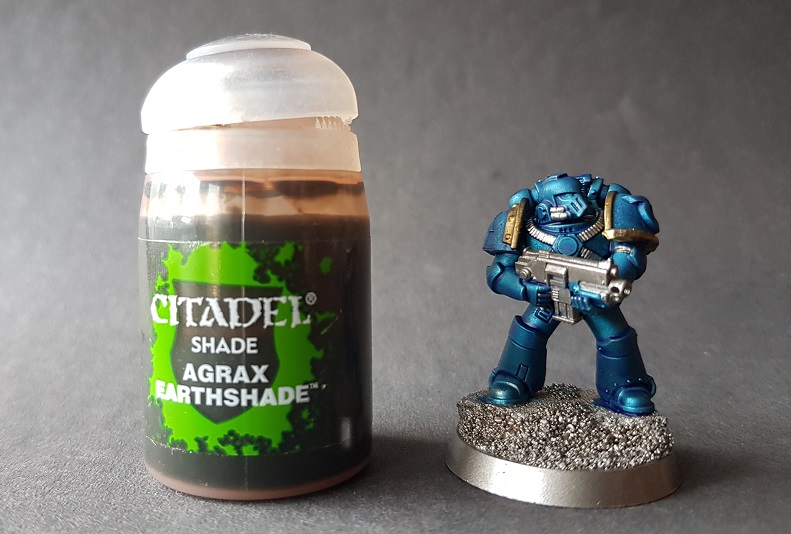
All of the areas that were painted with leadbelcher and bronze were given a wash with Games Workshops agrax earthshade.
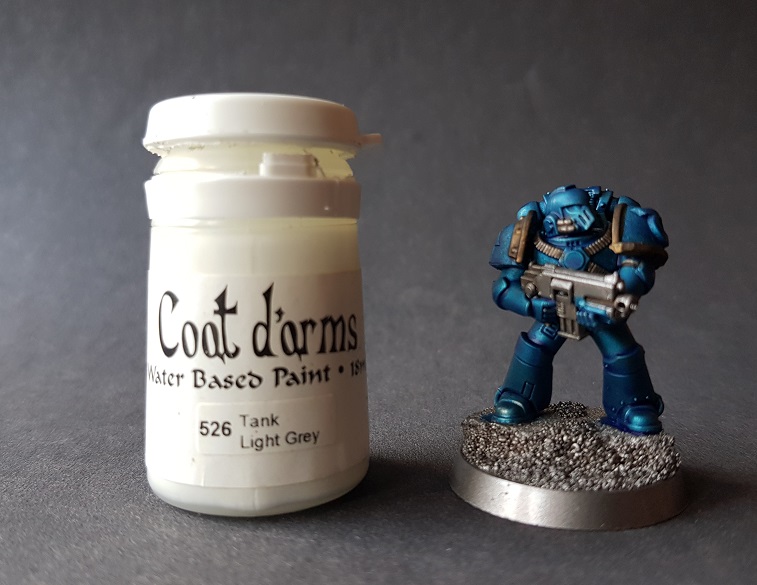
Next I used Coat d arms tank light grey to paint the tactical and Ultramarines symbol as well as the eyes.
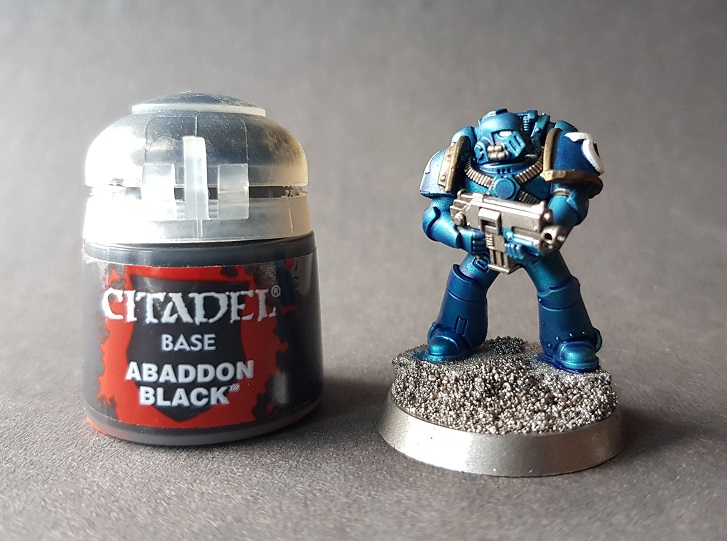
The gun casing was then painted black.
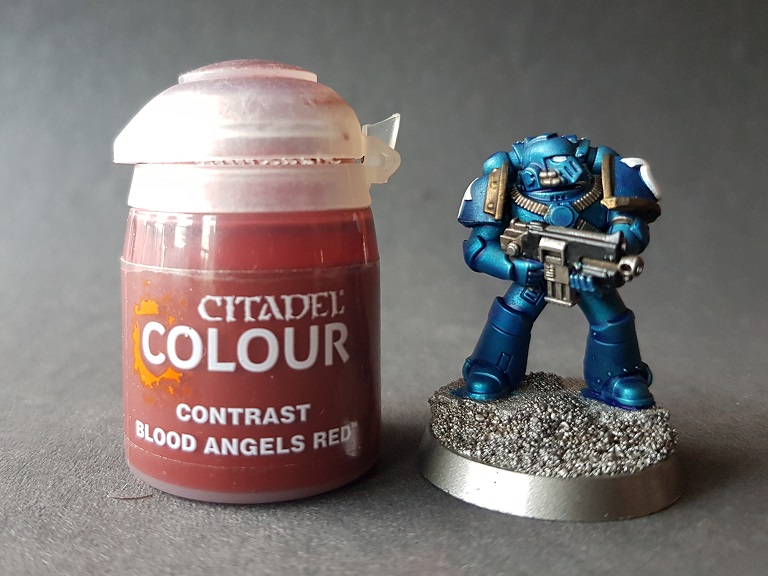
While the black was drying I doted the eyes with Games Workshops contrast blood angels red.
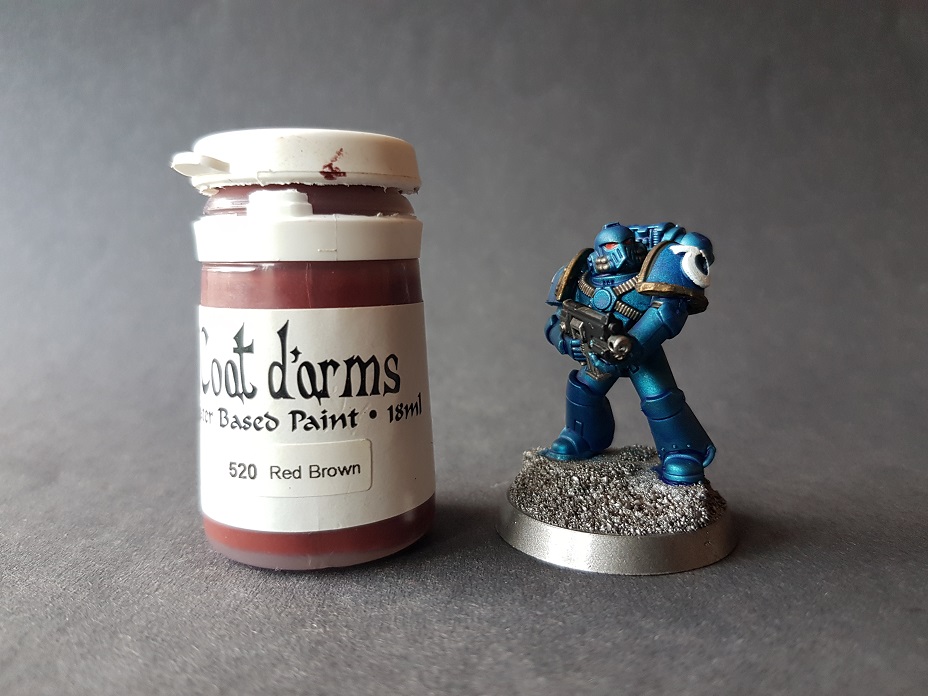
The base was painted with Coat d arms red brown.
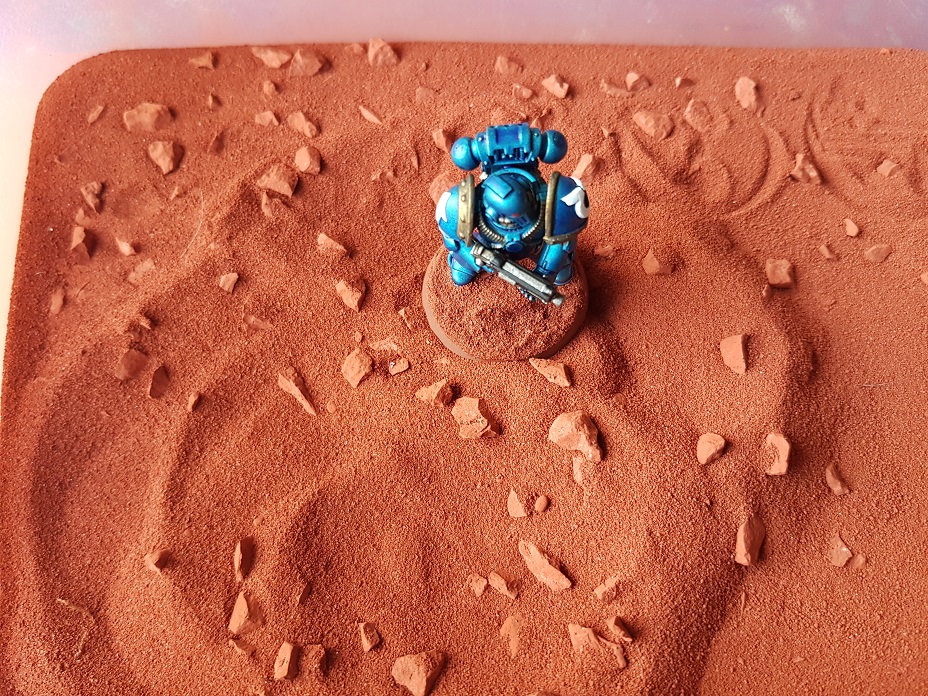
I then covered the base with PVA glue and dipped it into Geek Gaming Mars earth.
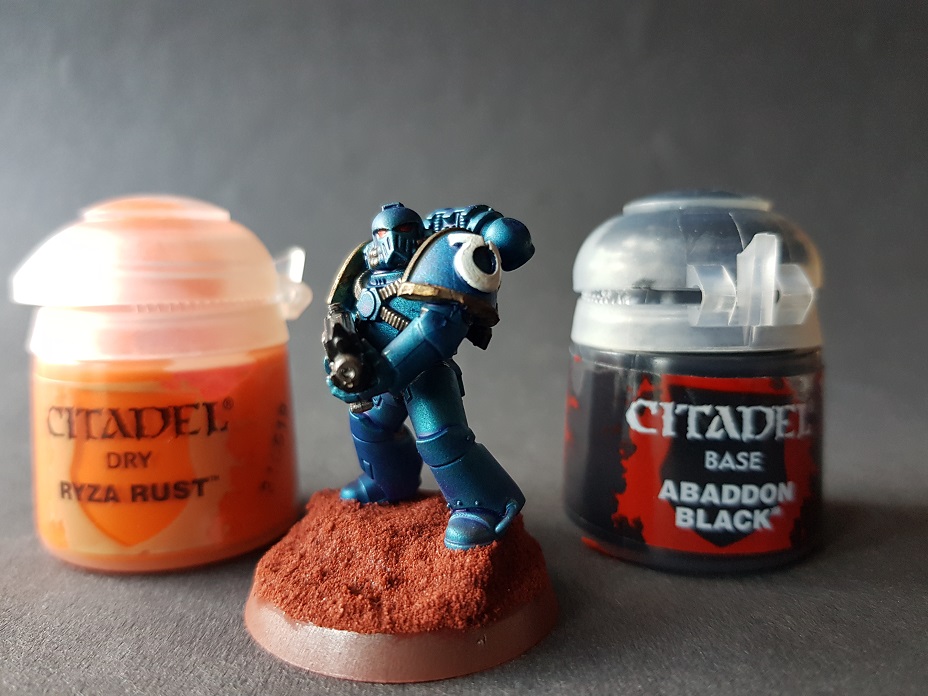
Once the basing material was fully dry I gave it a light drybrush with Ryza rust then painted the rim black.
There we have it! A nice and shiny metallic blue Ultramarine.
Next time we will take the model a few steps further adding small details like armour chips, weathering and glowing eyes.