![](https://burningbeardstudios.co.uk/wp-content/uploads/2021/12/258389515_607513907363602_8090747417777347774_n.jpg)
Part 9: Gap filling and finishing touches.
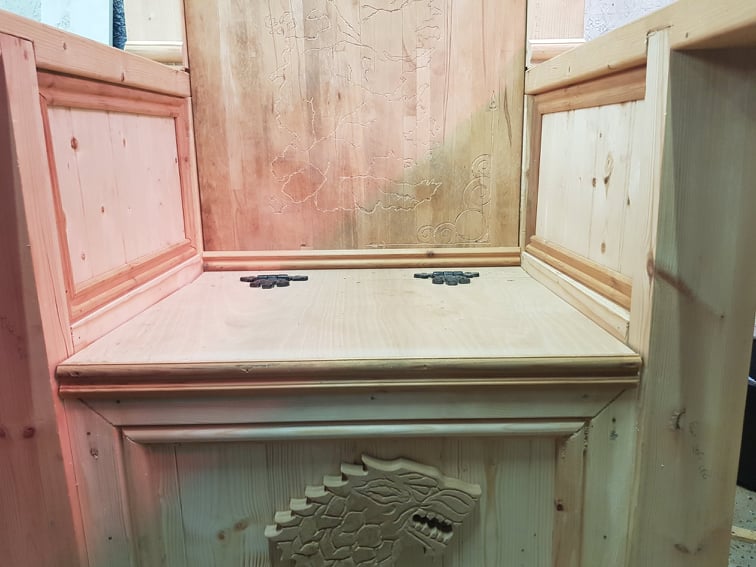
Now the chair is so close to completion its now that i have to take a little time to look over all the details and make any corrections that are needed.
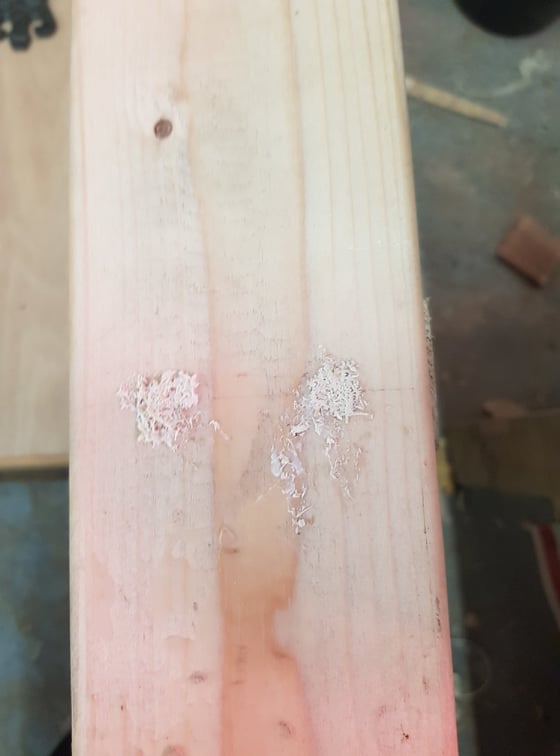
Firstly I looked for any screw holes or chips in the wood and filled them in with a 50/50 paste of strong wood glue and fine saw dust.
After 24 hours, the paste was fully dry and could be sanded down.
![](https://burningbeardstudios.co.uk/wp-content/uploads/2021/12/257467675_919856798969110_2199267147808033607_n.jpg)
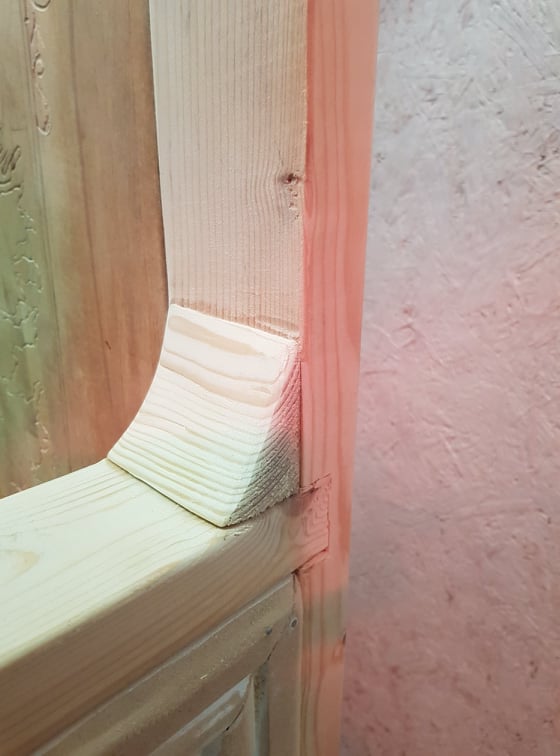
I decided that the arm rest ending at a 45 degree angle wasn’t very visually pleasing so I carved a piece of wood into a slope joining the back post to the arm rest.
![](https://burningbeardstudios.co.uk/wp-content/uploads/2021/12/264889726_1037771863444401_1348700541429994249_n.jpg)
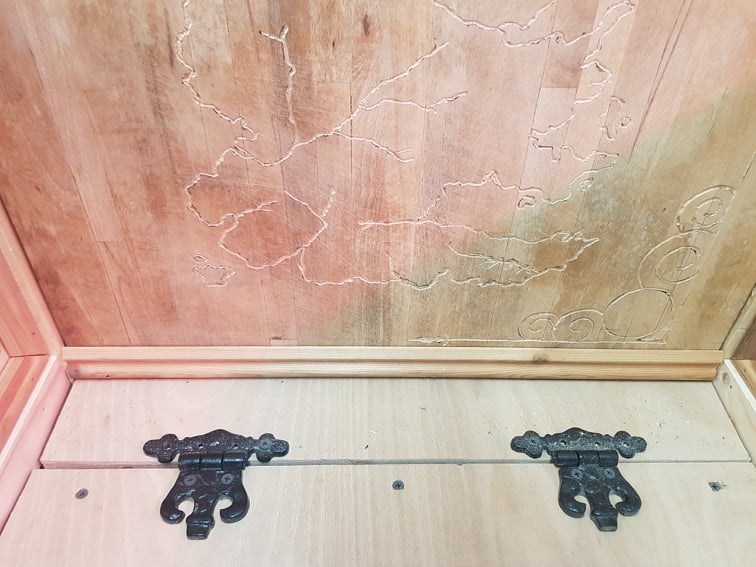
Fine derail baton was cut and attached to the chair around any joins, as well as the lip of the trunk lid.
![](https://burningbeardstudios.co.uk/wp-content/uploads/2021/12/257765846_470652351045406_2622072331842323712_n.jpg)
![](https://burningbeardstudios.co.uk/wp-content/uploads/2021/12/258389515_607513907363602_8090747417777347774_n.jpg)
Coming soon………..part 10: Staining and waxing.